- Published 6 Feb 2023
- Last Modified 20 Mar 2025
- 10 min
A Guide to Hand Saws
In this comprehensive guide, we will cover the different types of hand saws and explain their common uses.

The purpose of this guide is to highlight some of the many different types of hand saw on sale and to identify what each saw is best used for. Our ultimate aim is to help you narrow down your options when considering buying a hand saw for the sorts of jobs you’ll be taking on.
In the sections below, you’ll find guidance on how to use a hand saw alongside an overview of the most popular types of hand saws. We will also cover some basic information about their key characteristics, differences and uses. Popular hand saw types we’ll cover include tools used for cutting wood and plasterboard, tenon saws, pruning saws, and numerous other important varieties of hand saws.
What are Hand Saws?
Hand saws (sometimes written as handsaws) are an essential piece of hardware for any well-stocked toolbox. In fact, they’re right up there with hammers, chisels and spanners in terms of the most commonly used tools for a range of general home improvement and maintenance projects.
While modern power tools offer fantastic speed and convenience in many sawing applications, by no means are they a universal solution. In many scenarios, factors such as accessibility, convenience, weight, safety or finesse can mean that a hand saw is a far better option than a powered tool.
Of course, there are many different types of hand saws available. As with all manual cutting tools, knowing which type of hand saw to use for which task is vital if you want to get the best results.
The Anatomy of a Hand Saw
The diagram below should help you get to know the anatomy of a hand saw in greater detail. It will also help you understand the correct terminology for each component of the saw.

An Illustrated Guide to Hand Saws
As we’ve seen above, there are many different types of hand saw sold for a broad and diverse range of jobs. When asking what are the main types of hand saw you’re likely to be choosing from, you may find the slight variations in terminology used by different suppliers can quickly become confusing.
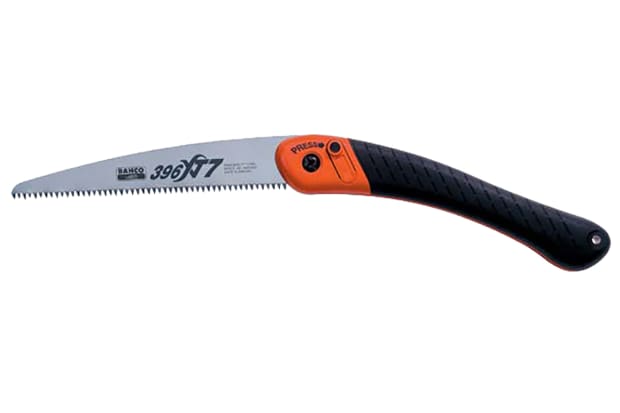
If so, the following picture guide to some common hand saw types should help:
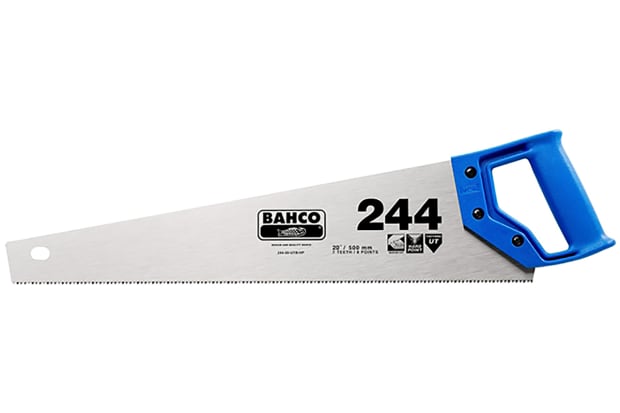
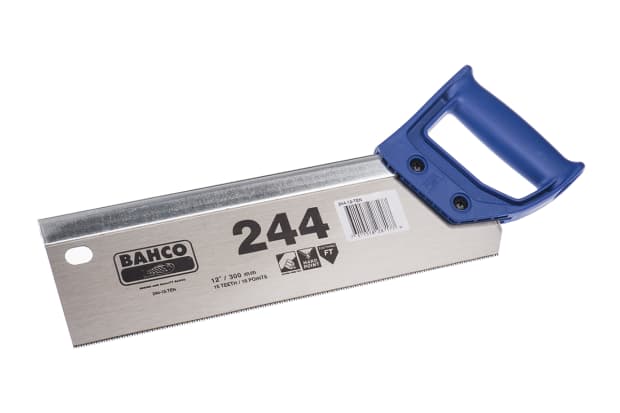
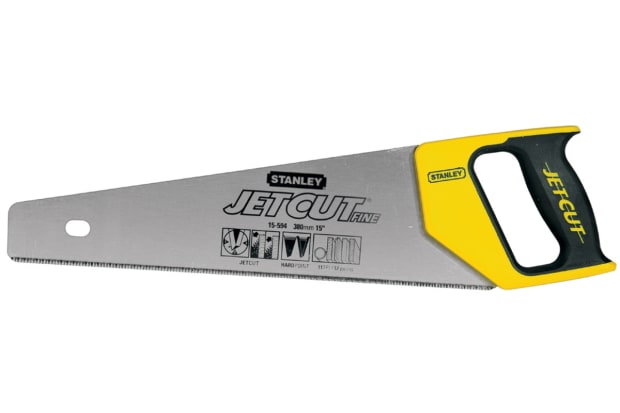
Hardpoint saw
Similar Name/s :
- Hand saw, pull saw, toolbox saw
The Different Types of Hand Saws
As noted above, there are many different types of hand saws available. Some are designed to be used as multi-purpose, general use sawing blades. Others are precision engineered specialist tools for optimal performance in far more specific sawing tasks.
At this point, it’s worth noting that names for the various basic hand saw types aren’t always entirely consistent between different suppliers, manufacturers and users. This can lead to some confusion. For example, some common saw types and naming conventions you could encounter while shopping for a simple timber saw might include:
- Rip saw
- Crosscut saw
- Panel saw
- Short cut saw
- Box saw
- Wood saw
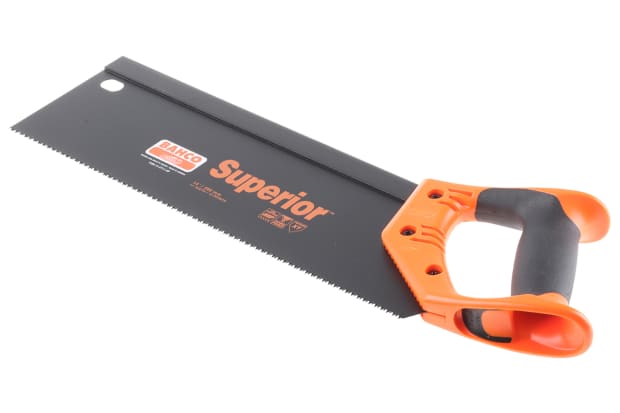
- Tenon saw
- Back saw
- Dovetail saw
- Pruning saw
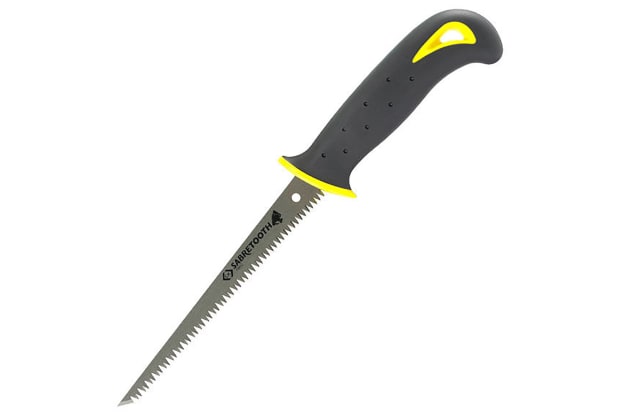
- Plasterboard saw
- Coping saw
- Fine finish saw
- Fretsaw
- Hacksaw
- Frame saw
- Bow saw
- Hardpoint saw
- Keyhole saw
- Punch saw
- Compass saw
- Pull saw
- Dozuki saw
- Ryoba saw
- Kataba saw
- Pole saw
- Veneer saw
Moreover, you’ll sometimes find several of the common names listed above being used almost interchangeably, often referring to what looks like the same basic hand saw type.
In many cases, the precise differences between these various subtypes can be subtle. Alternatively, even when the saw designs themselves appear to be different, their actual uses might, in fact, be similar.
For example, you may see ‘wood saws’ designed for straightforward timber cutting identified as either rip saws, panel saws or crosscut saws. Tenon saws might be listed as back saws or dovetail saws by some suppliers. Different hand saws all intended for cutting holes, curves and other precise shapes include punch saws, keyhole saws, compass saws, fretsaws, and more. Additionally, some tools may be identified by other characteristics entirely, such as fine finish saws or heavy-duty models.
To keep things simple, in this guide we’ll focus on the four major categories of hand saws by their specific material uses - wood saws, metal saws, plasterboard saws, and pruning saws.
Hand Saw TPI Guide
Hand saw TPI - teeth per inch - is a really important consideration when choosing the best type of manual cutting tool for a specific job or material. In fact, TPI is often one of the biggest differences between the many different hand saw types on offer.
To give a very simple overview of TPI, the general rule of thumb is that the more teeth per inch a saw blade has, the finer the cut (and the neater the end result) will tend to be.
As you’d expect, this means that tools designed for fine or detailed work - such as fretsaws or coping saws - will have higher TPI counts. High TPI counts are also generally preferred when working with thinner woods and metals.
Hand saws intended primarily for lower precision tasks - such as pruning branches, cutting planks, or cutting sheet timber panels down to size - will usually have lower TPI ratings. Similarly, low TPI counts tend to be the better option for thicker, green and treated woods. Hacksaws, used mainly for cutting metal and plastic, can be seen as something of an exception to the above rules. They often have relatively high TPI blades due to the physical demands of those materials, but they are seldom used for detailed work.
Hand Saws for Cutting Wood
It can be tricky to identify the best hand saws for cutting wood, because ‘cutting wood’ can cover such a diverse range of jobs. Sawing through a log or tree branch is a very different task compared to cutting a neat hole in a furniture panel. Making a smooth curve on a piece of hand-crafted woodwork, meanwhile, is completely different once again.
Each of these scenarios requires the user to cut at varying speeds and forces in order to ensure the job is done correctly. Unsurprisingly, this means that there is a different ‘best’ hand saw for each situation. In general, you’ll want to observe the TPI rule of thumb:
- Stick to fine-toothed saws for jobs that demand slower speeds and higher precision. More teeth per inch usually imply a finer blade, meaning that your cut will be neater but progress through thicker or harder woods will be gradual
- Coarse-toothed saws are great for cutting through thicker or tougher materials quickly. The wider gaps between teeth mean that they can tear out more wood with each thrust of the blade, but the end result won’t be particularly neat
So-called ‘hardpoint saws’ can be an economical and convenient option for a range of simple woodcutting jobs. These tend to be relatively basic saws with plastic moulded handles and sharp, induction-hardened teeth. While many general-purpose hardpoint saws will get the job done on most types of wood, bear in mind that their treated blades typically can’t be sharpened. Once the teeth on a hardpoint wood saw have dulled, the entire tool must be replaced. This makes them a more suitable option for people who will only use hand saws for wood occasionally.
Hand Saws for Cutting Metal
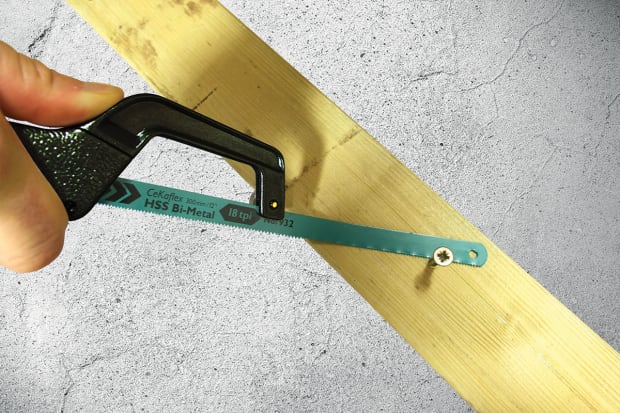
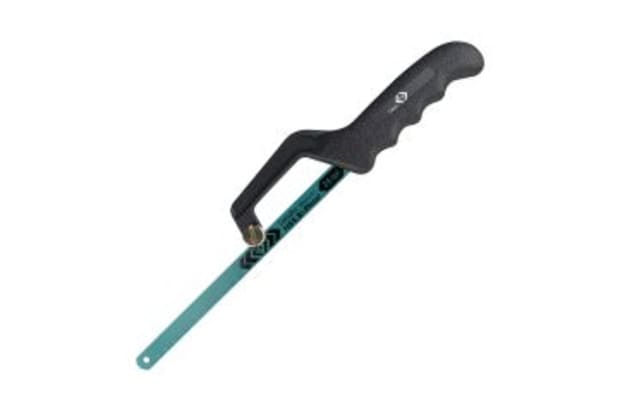
When choosing a hand saw to cut metal, many people opt for the traditional hacksaw, consisting of a narrow and fairly flexible hacksaw blade tensioned between the two ends of a rigid c-shaped frame. This simple, familiar tool is a widely used and trusted option for cutting thin metal sheets by hand.
Once again, though, it’s worth considering various other facets of the task when choosing the best hand saw configuration for the job. When it comes to choosing hand saws for cutting metal, it’s important to bear the following in mind:
- The specific material properties of the metal type you’ll be cutting
- The size and thickness of the sheet you’re working on
- The shape of cut you need to make
- The neatness of finish you need to achieve
Even if you’ve already decided on using a hacksaw to cut your metal sheet, paying attention to variables such as TPI count and blade material can make a big difference to the difficulty of the job. Much like with wood saws, hand saws for metal are most effective when TPI count and material properties are matched:
- Lower TPI blades are better for coping with tougher or thicker metals such as iron and steel but will create a much rougher cut
- Higher TPI blades will produce a finer cut but are generally preferred for thinner or softer metals like aluminium and copper
How to Sharpen a Hand Saw
The question of how to sharpen a hand saw comes up fairly often. Saws that have been heavily used, or improperly stored over long periods of time, can easily end up feeling much duller than they originally did. When this happens, it usually becomes fairly obvious within a few pulls or pushes of the blade across the cutting material.
With a dull hand saw, the blade won’t bite easily at the start of a cut, lines are difficult to keep neat or precise, and making progress through thicker materials can be laborious. By contrast, the best cutting hand saw will be well aligned and will always have sharp teeth.
Sharpening a hand saw isn’t necessarily difficult, but it is important to carry out the task properly and safely. Furthermore, some saws aren’t good candidates for sharpening in the first place. For instance, this is usually the case with hardpoint saws, whose teeth have been treated and aren’t designed for lifelong use.
For some cheaper hand saws, blades (or even entire tools) can be more economical to replace altogether, especially once you factor in the time and other materials needed to perform a proper repair. It’s also worth noting that poor sharpening technique can be just as damaging as neglecting the tool in the first place:
- With rip cut saws, if one or two teeth end up slightly shorter than the others (either through heavy use or imprecise sharpening), the chances are that it won’t completely ruin a hand saw’s action
- If one or two teeth end up longer than the rest, though, you’ll quickly start to notice uncomfortable dragging and juddering when you saw
- For crosscut saws, the 'set' of the teeth (their alternating angles towards and away from the midline of the blade) may also need adjusting over time. If the set of the teeth is too narrow, the blade may bind when cutting. However, if the set of the teeth is too wide, it may feel loose in the kerf and show a tendency to wander
With all that said, once you’ve bought a good hand saw, it may very well prove to be something you want to keep in your tool kit for a long time to come. In that case, at some point, you will need to sharpen the teeth. Good saw sharpening technique can help you achieve great results with hand saws over many years of intensive use.
There's both a simple and a more complex approach to sharpening hand saw teeth. The more complex method (particularly for crosscut saws, as noted above) might involve any of several additional tools, such as a saw tooth setter. Here is a handy outline of the more basic sharpening technique for rip cut saws.
Tools You Will Need:
- A vice to hold the saw blade
- Vice blocks or wood to protect the tool
- A mill file (flat) and a taper saw file (triangular)
Both of these files are commonly found in good file sets. Any size triangular file that fits well between the saw teeth will be suitable.
Steps:
- First, set the blade as low down in the vice as you can, while leaving the teeth themselves exposed as this will minimise wobble and flex as you file
- Next, use the flat mill file to level out the teeth. Hold it level across the tops of the teeth, perpendicular to the blade. Use light, even pressure in a side-to-side action along the full length of the blade, creating a small flat top on each tooth. You will be able to see these new flattened tops as bright, shiny areas when held to the light
- Once you have done this, you will need to switch over to the taper saw file. Place the file in the gap between two teeth, angled slightly towards the tip of the saw so it rests against the spine of the tooth being sharpened. Again, make sure to hold it level and perpendicular with the blade. Make two to three light sideways passes in the same direction for every tooth along the full length of the blade, maintaining a consistent action and number of strokes each time
- Once the shiny, flattened top of every tooth has been reduced to a pinpoint, all at a consistent size, the saw has been successfully sharpened. Make sure to test our your newly sharpened hand saw and if necessary, go back and make adjustments in small increments until the issue is resolved
What are Tenon Saws?
What are Pruning Saws?
Plasterboard Saws
Popular Brands
Bahco
Browse the full range of hand saws available from Bahco and shop online today with RS Components.
Irwin
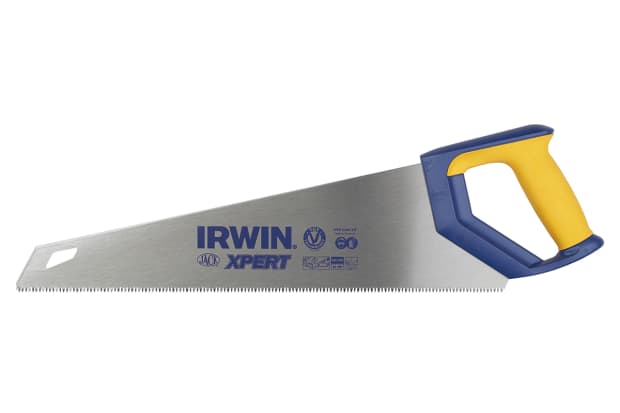
We stock a wide variety of Irwin hand saws, with products ranging from hardpoint saws to general-purpose hand saws.
Spear & Jackson
Spear & Jackson hand saws are suitable for a wide range of uses and applications. See the full range online today.
Stanley
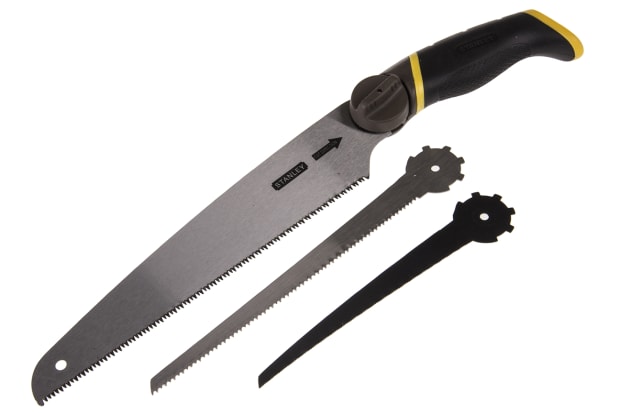
See our full range of hand saws from leading brand Stanley and discover the product best suited to your specific requirements.
